Customizing Views
This topic provides a basic description of how to work in and customize views.
- minimizing
- rearranging & resizing
- detaching
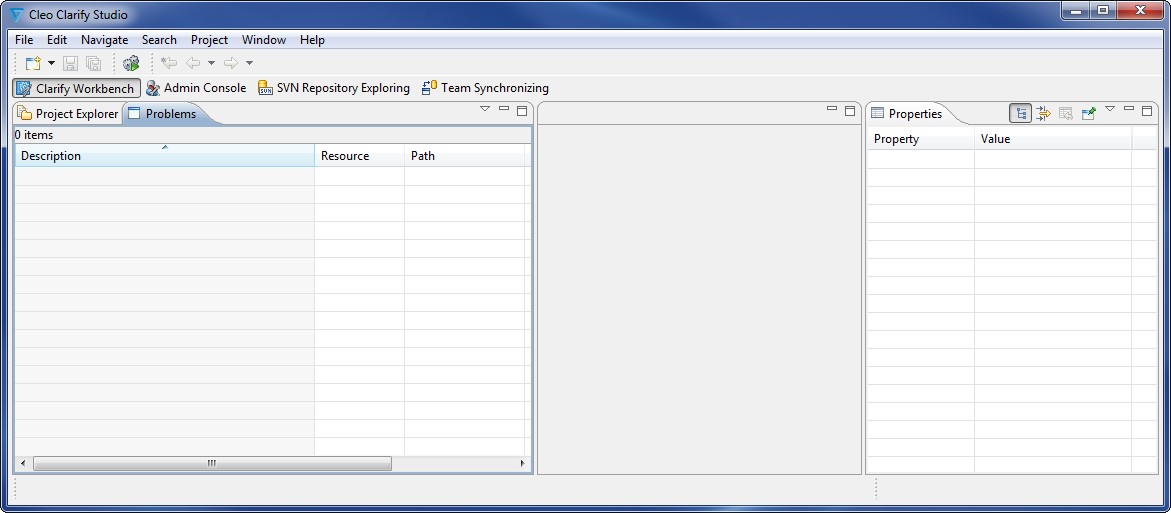
Each method is described here, using three views -Project Explorer, Problems, and Properties - in the Clarify Workbench perspective as examples.
To Minimize
Click the Minimize button in the View bar (part of the Project Explorer view in this example) to hide the view.

With that view now hidden, a shortcut bar appears containing two buttons.
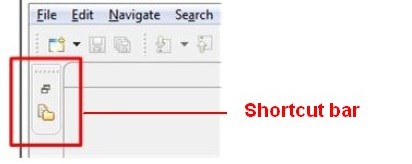
- Click the shortcut bar’s top button (Restore) to return the view to its previous size.
- Click the bottom button (Project Explorer) to overlay that view with its previous location/size.
Clicking the Minimize button for the Problems and Properties views will hide both views. In this case, three buttons (Restore, Problems, and Properties), are minimized to the bottom left, and are used to return both views to their original size.
To rearrange & resize
It is also possible to move and resize views.
Here, the Problems view now appears in the same View bar as the Project Explorer view and the Properties view is at the right of the perspective.
To Detach
Views may be detached and treated as separate windows.
Right-click a view’s tab and select Detached.
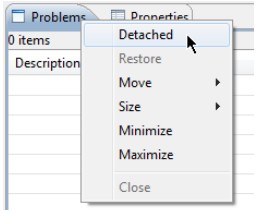
Then drag the separate window to its desired location on the desktop. Here, both the Problems and Properties views are detached and therefore always visible.
