Creating a vault entry from the Admin Console’s Settings | Auth Vault view is
the first step to begin using auth info from your own server. A vault entry must also exist
before another remote server can access the auth info.
-
From the Admin Console’s Auth Vault section, create a new entry
with the Create button
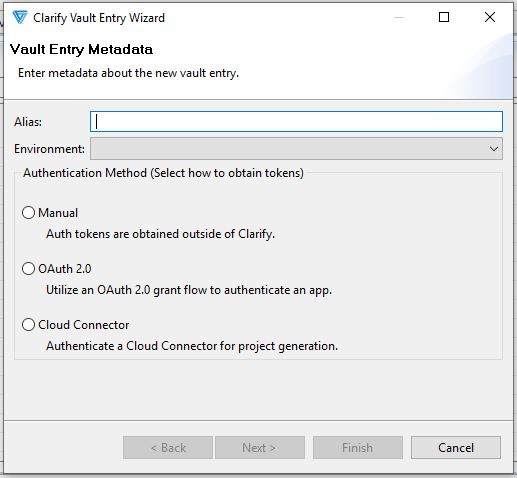
 . The Vault Entry Metadata screen
appears.
. The Vault Entry Metadata screen
appears.
-
Enter an Alias name.
Alias can be any name you choose but should have some description in its
name. “ShopifyToken” is a good example, as it combines the external
Web application and the type of auth info. This Alias will later be
identified in the Web Service Consumer object that you will use to call the
external Web Service.
-
Select the Environment.
The (Vault Entry) Environment represents different external
application environments that you could potentially call with Clarify Web
Services. Once example may be using a sandbox versus a production
environment. There are two default vault entry environment names provided
with a Clarify server install: QA and PROD.
Note: If unsure as to what environment to select, always choose PROD.
-
Select the method to obtain the access token. Options include:
Note: this is a prerequisite step for creating a Cloud Connector Project.
Based on the method selected, follow the steps outlined below.